|
The
text area in Advanced Diary supports rich text formatting (RTF),
images, tables and hyperlink insertion.
There
is a main menu, a special toolbar, and a pop-up window that provide
these options:
Here
you can change fonts, paragraph formatting, add bullets and
background etc. Text editor allows to insert text from file, images
(even animated GIF files), special symbols, horizontal lines,
tables etc.
Emotions
To
insert the emotions pictures, click the Emotions button and an emotions panel will be
displayed:
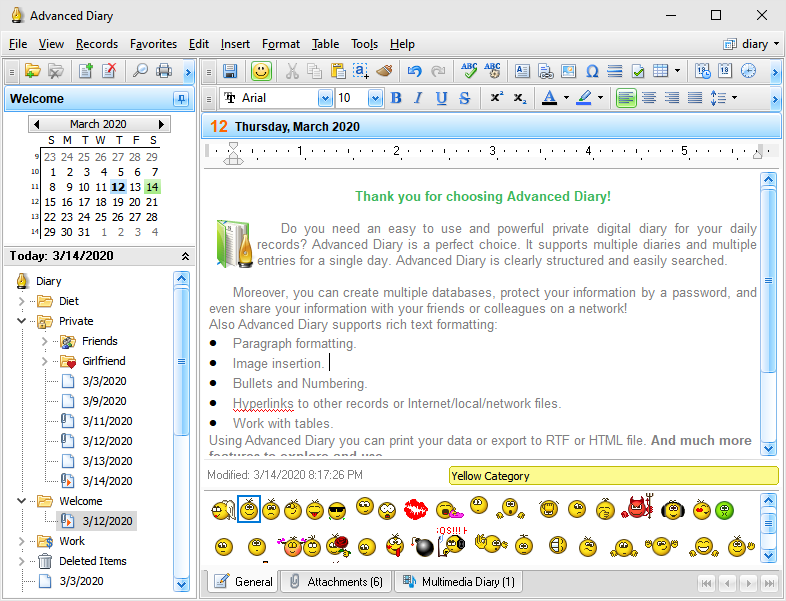
To
insert any emotion picture, simply click it on the panel.
You
can add any own emotion pictures. Just copy your pictures into the
"...\Advanced
Diary\Emotions" folder.
Advanced Diary supports animated
images.
To
hide the emotions panel, simply click the Emotions button again.
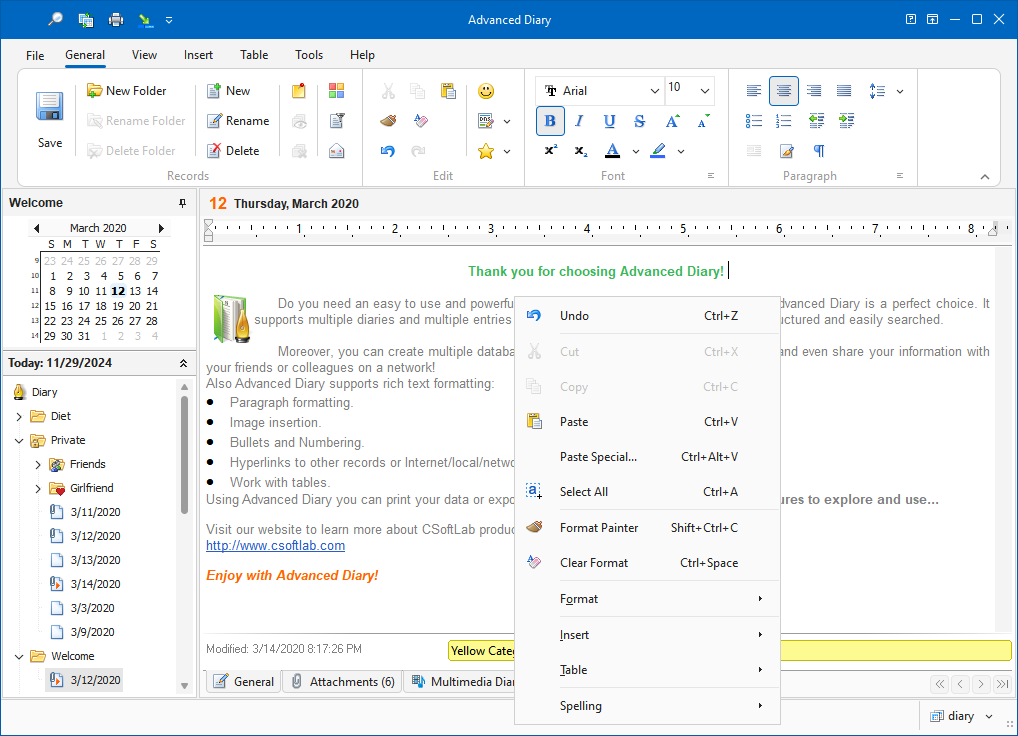
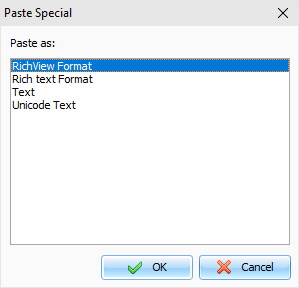
Paste special
You
can paste contents of the clipboard into a description area in
various ways using the "Paste
Special" context menu item
or Ctrl+Alt+V shortcut:
Text Formatting
You
can use standard functions (Bold, Italic, Underline) to change font style, highlight text, change
text color etc. Also Advanced Diary supports "Format
Painter" feature. You can
simply select formatted text, press "Format
Painter" button and select
text, which you would like to format.
Paragraph
Formatting
To
open the paragraph
formatting options, click the
"Paragraph" button:
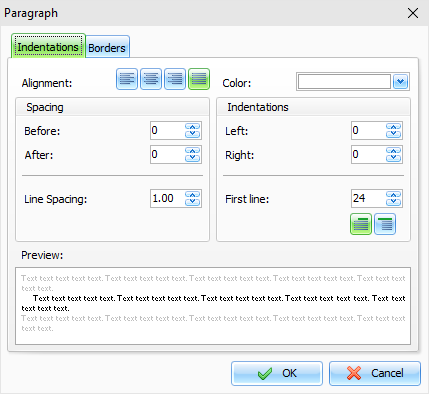
Here
you can change paragraph alignment, colors, borders, indentations
etc.
Text Wrapping
Advanced Diary supports various
text wrapping types. To set up a text wrapping around the pictures,
please select a picture, or put cursor after picture. Then click
the "Text
Wrapping" button.
The "Text
Wrapping" window will be
opened:
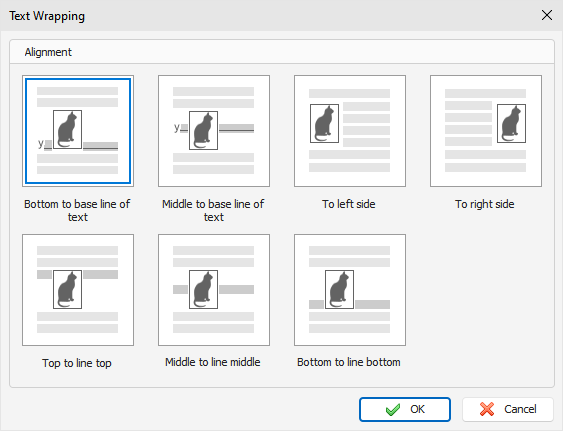
Just select any text wrapping type
and click the "OK" button.
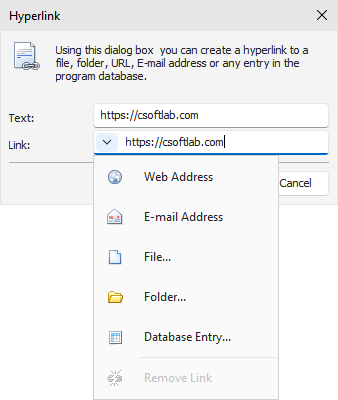
Hyperlinks
To
create a hyperlink
inside a document, click the
"Hyperlink" button. The dialog window that creates
hyperlinks will appear. You can add a link to any URL, email
address, any external file or folder, or any entry in the Advanced
Diary database.
If
you select the "Database
Entry" link type, the new
window will be opened:
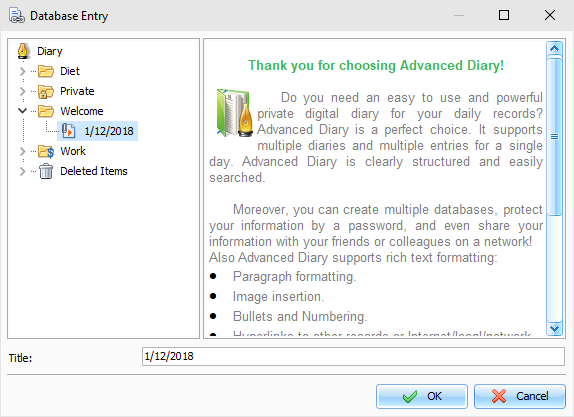
In
this window you can select any folder or database entry. Then click
the "OK" button to create hyperlink to the selected
entry.
Special Symbols
To
insert a special
symbol, click the
"Special
Symbol" button. A dialog box
will appear:
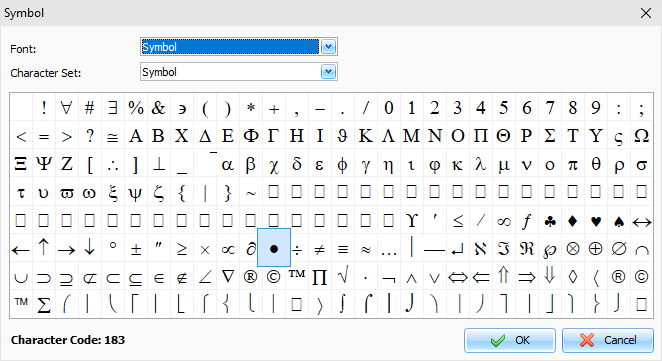
Select Font and necessary Symbol and click the
"OK" button.
Please note, this window will remember last
choosen settings for your convenience.
Horizontal Line
To
insert a horizontal
line, click the
"Horizontal
Line" button. A dialog box for
line insertion will appear:
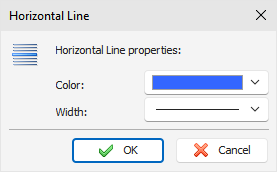
Select the Horizontal Line color and width, then
click "OK".
Table
To
insert a table, click
the "Table" button. A dialog box for table insertion will
appear:
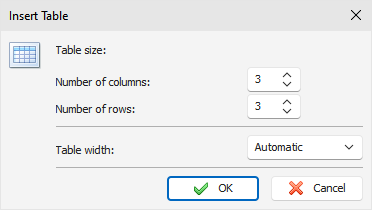
Select the number of rows and columns in the
table and click "OK".
To
change the cell colors in the table, select "Table - Cell
Color" menu item. To change
the table settings, use the pop-up menu with additional
functions.
To
change the table properties, click the "Table -
Properties" menu item:
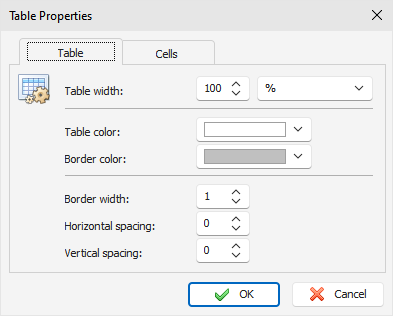
In
this window you can change Table width, colors, spacing
etc.
There are several types of table
width:
Automatic
- table width will fit current
document with, and you will be able to resize table by
mouse.
%
(percents) - table width in
percents from total document width (when you resize document, table
will be resized automatically).
Pixels
- fixed table width in pixels. Can be
changed only in Table Properties
window.
Last choosen width type will be saved
and automatically applied to new tables, when you will add them in
the future.
Background
To
add a background
to a document, click the
"Background" button. A dialog box will appear:
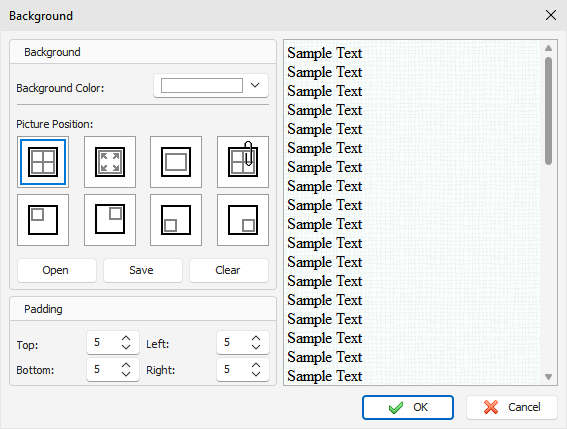
Background Color
- here you can choose a color for
background.
To
add a picture, click the "Open" button and select desired picture file.
Advanced Diary comes with some background pictures. You can find
them in the "...\Advanced
Diary\Backgrounds\"
folder.
To
save current background picture to a file, click the
"Save" button.
To
remove picture from background, click the "Clear" button.
Picture Position
- if the picture is selected, you can
set up its position: Tiles, Stretched, Center, Fixed Tiles, Top
Left, Top Right, Bottom
Left, Bottom Right.
Padding - here you can choose the text editors
padding.
Search in texts
To
find a string or word in the text, click the "Find" button. A dialog box will appear:
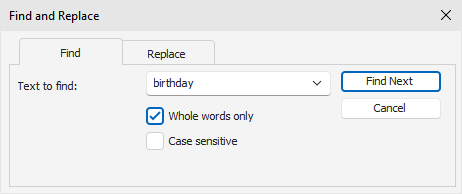
Using
this dialog box you can find any words in the text and replace them
with the new one if necessary.
|

