|
Advanced Diary print preview window looks like
this:
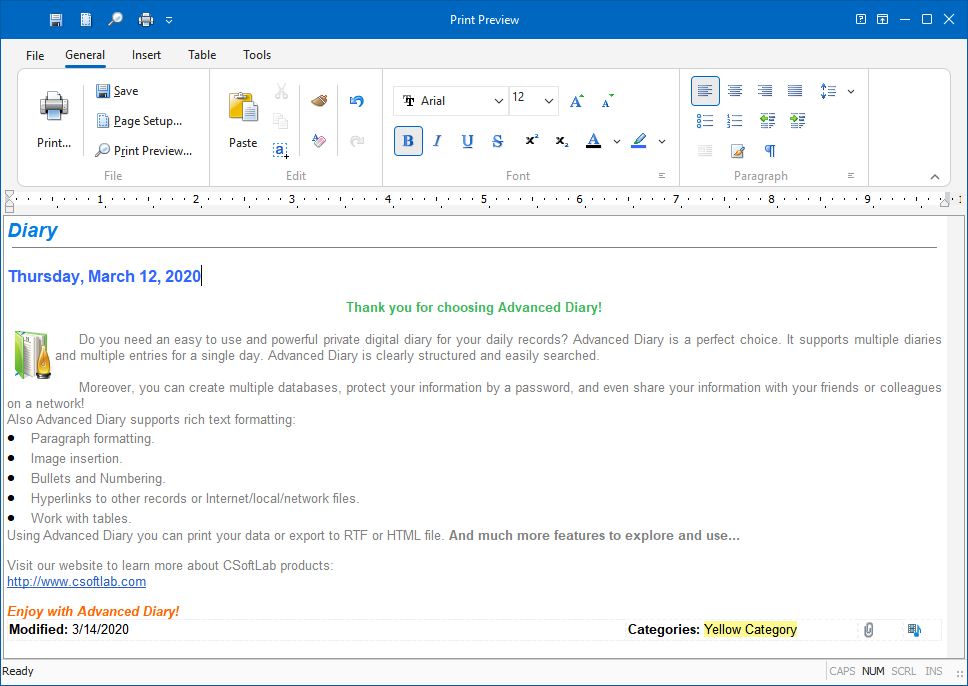
You
can not only preview the report - you can edit the report that has already been created as
well!
To
get detailed information about editing text, see the "Working with text"
topic.
If
you click the "Save" button ("File - Save" main menu item), you can save the report
as HTML or RTF file.
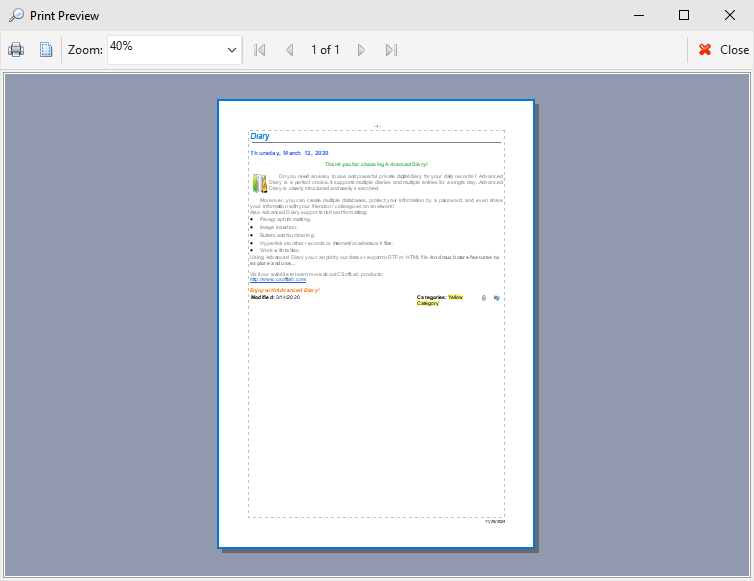
To
print the document, click the "Print" button ("File Print" main menu item).
To
see how the printed report will look like, click the
"Print
Preview" button
("File
Print Preview" main menu
item).
To
set the print page parameters, click the "Page Setup" button ("File Page
Setup" main menu item). Page
setup dialog window will appear:

This
window is used to set up margins for printing as well as to create
header and footer. Color and alignment of headers and footers can
be changed.
To
set paper orientation, press the "Paper" button.
|

