|
There
are two methods to create a new entry: you can select any date on
the program calendar and enter your text. A new entry will be
created for this date. Also you can click the "New" button on the program toolbar or use the
Ctrl + N
shortcut. A dialog box will
appear:
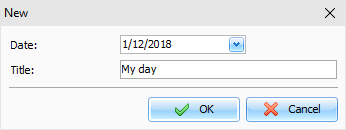
Here
you can select an entry date and enter entry title (optionally). If
record has title, it will appear on the Documents tree instead of
date. You can change the entry title by editing it in the Documents
tree or by clicking the "Records -
Rename" main menu item. If you
would like to change the entry date, simply drag it onto an
appropriate date on the program's calendar, and the entry date will
be changed.
To
edit already existing record, simply select this record and then
edit text.
To
apply the record changes, click the "Save" button on the program toolbar and all
information will be saved into the database.
A
built in text editor in Advanced Diary supports rich text formatting (RTF),
pictures, tables and hyperlink insertion. Also we've added the backgrounds and diary
templates support. See the Working with text and "Working with
diary templates" help topics for more details.
You
can add a voice
diary or attach
any file to the current entry. This is not hyperlink to file.
The attached file will be stored directly in the database.
Also
you can assign any categories to your entry and then filter your entries
by categories.
You
can send your entries by email. See the "How to send
an entry by email" help topic for more details. Any entry can
be opened as an electronic sticker on the monitor screen.
If
necessary, you can cut, copy and paste selected entries by using an
appropriate button in the "Records" main menu item. Advanced Diary supports
multiple records selection inside a single folder.
To
delete an entry, click the "Delete" button. If an appropriate option is turned on,
the "Confirmation"
window will appear:
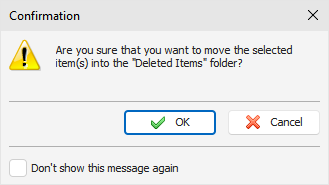
After
the confirmation all selected entries will moved into the
"Deleted
Items" folder. This feature
will allow to restore deleted entries, in case if you deleted them
by mistake.
To
completely delete your entries, please delete them inside the
"Deleted Items" folder, or click the "Records - Empty 'Deleted
Items' Folder". After the
confirmation these entries will be permanently deleted from the
database:
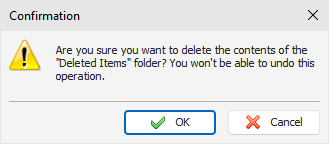
Warning: You won't be able to undo these
changes.
|

